Woodpeckers
Woodpeckers Sharpening System (SHG-SYS-23)
- UPC:
- 810137202112
- MPN:
- SHG-SYS-23
- Availability:
- Usually Ships in 1-2 Business Day - Subject to Change
Description
Woodpeckers Sharpening System (SHG-SYS-23)
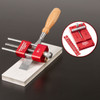
Woodpeckers Sharpening System makes the sharpening process easier, more accurate and quicker than freehand sharpening and has features you won't find in any competitive sharpening guide. There's no better feeling in woodworking than making a cut with a razor-sharp tool. Be it an end-grain paring cut with a chisel or a whisper-thin shaving coming off a smoothing plane, there's nothing as satisfying as the sound of the cut and the feel of the finished surface. Part of what makes that experience so satisfying is the memory of the time and effort that went into getting the edge ready for the cut. If you want sharper tools faster this is the system for you.
A Systematic Approach to Woodworking Tool Sharpening
The first difference you'll notice between Woodpeckers Sharpening Guide and the others is that our design uses two rollers, instead of one. From the first day of geometry class we all remember that three points constitute a place, and that's exactly why we build in two rollers. Combine the two rollers with the bevel of your tool and you've defined a flat plane. Precision-machined shoulders in the jaws hold your tool perpendicular to the axles and parallel to the wheel surfaces. This design virtually ensures a square edge on your tool perpendicular to the axles and parallel to the wheel surfaces. This design virtually ensures a square edge on your tool if your sharpening stone is flat.
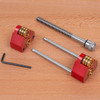
However, a two-wheel design can be a problem. With two wheels on the outside of the guide, wide tools like plane irons force the wheels off the edge of bench stone. We solved that by providing 2 different wheel positions. Mount the wheels inside of the plane irons and chisels over 1-1/8" wide or move them outside for blades from 1/8" to 1-1/8". In both positions the wheels deliver stable support.
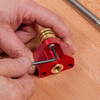
To make those wheel changes simple you have wide open access to the wheel mounting screws. While you're putting it back together, you'll notice the deep, square cut Acme thread. It spins down fast and grips the tool tight. All steel components are stainless, the aluminum jaws are anodized and the wheels are bronze... Everything is corrosion resistant. You can (and should) dunk it in water without worry.
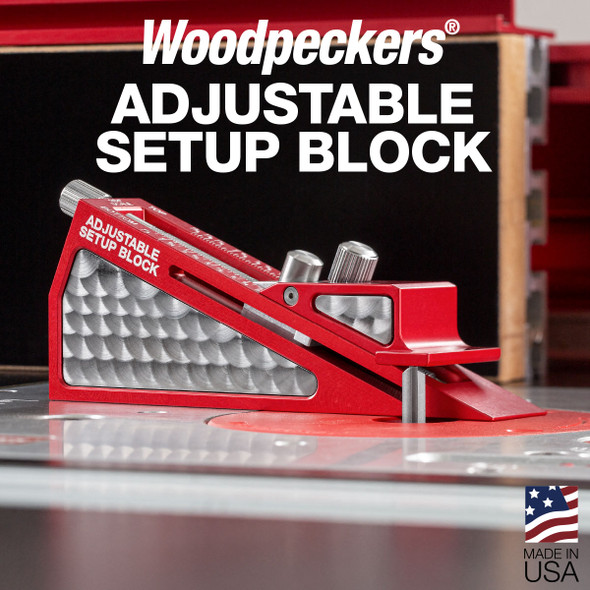
The angle sharpened on your tool is determined by how much tool is projecting from the front of the Sharpening Guide. You'll find the correct protrusions for standard sharpening angels in the Owner's Manual. But, if you sharpen a wide variety of tools at lots of different angles, you'll want the Sharpening Angle Fixture. This handy set-up tool gives you a precise reference for primary bevel angles from 15° to 45° in 5° increments and a 2° micro-bevel offset for every one of those primary bevels. Each angle has a positive pin registration, making repeat sharpening quick and easy.
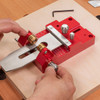
As you're getting ready to set up your first tool, you'll notice that the Sharpening Guide is perfectly symmetrical... there's no front or back or left or right. Most right-handers will want the clamping knob on the right when clamping the tool in. Lefties will normally want it on the other side. No matter what's comfortable to you, it works. Just place the Sharpening Guide upside down and against the guide stop on the Angle Fixture. Place your tool in the jaws and against the stop and lock it. That's it... you're dialed in for sharpening on your bench stones. Since you're guiding from the stone surface you never have to worry about the angle changing if your stones aren't all the same thickness.
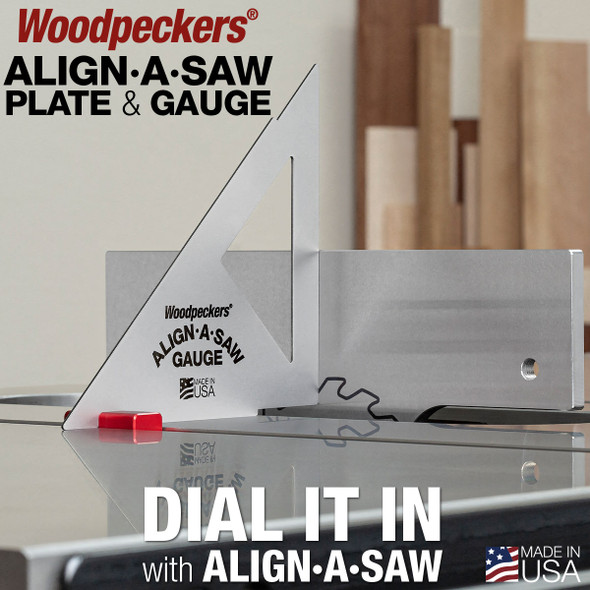
If you're not sure of the angle on your tool to begin with, or you want to check it after sharpening, the Sharpening Guide come with a Sharpening Angle Gauge. The edge has precision-cut notches representing all the standard sharpening angles. The face is printed with a handy chart which suggests the correct angles for different hand tools operations.


